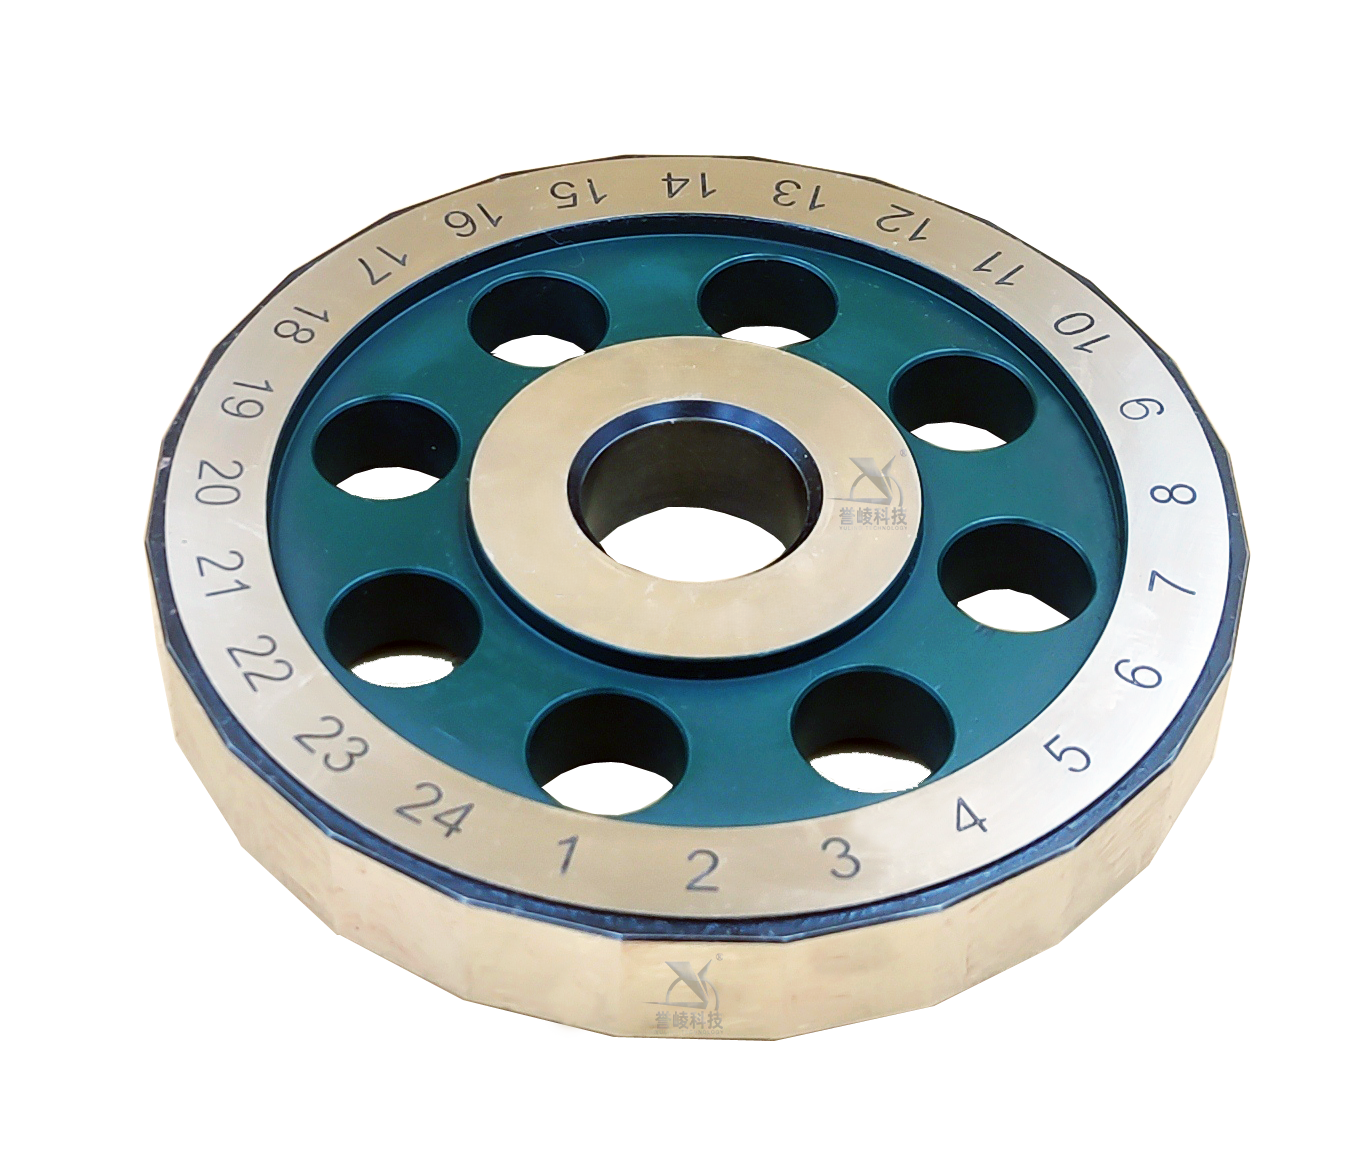
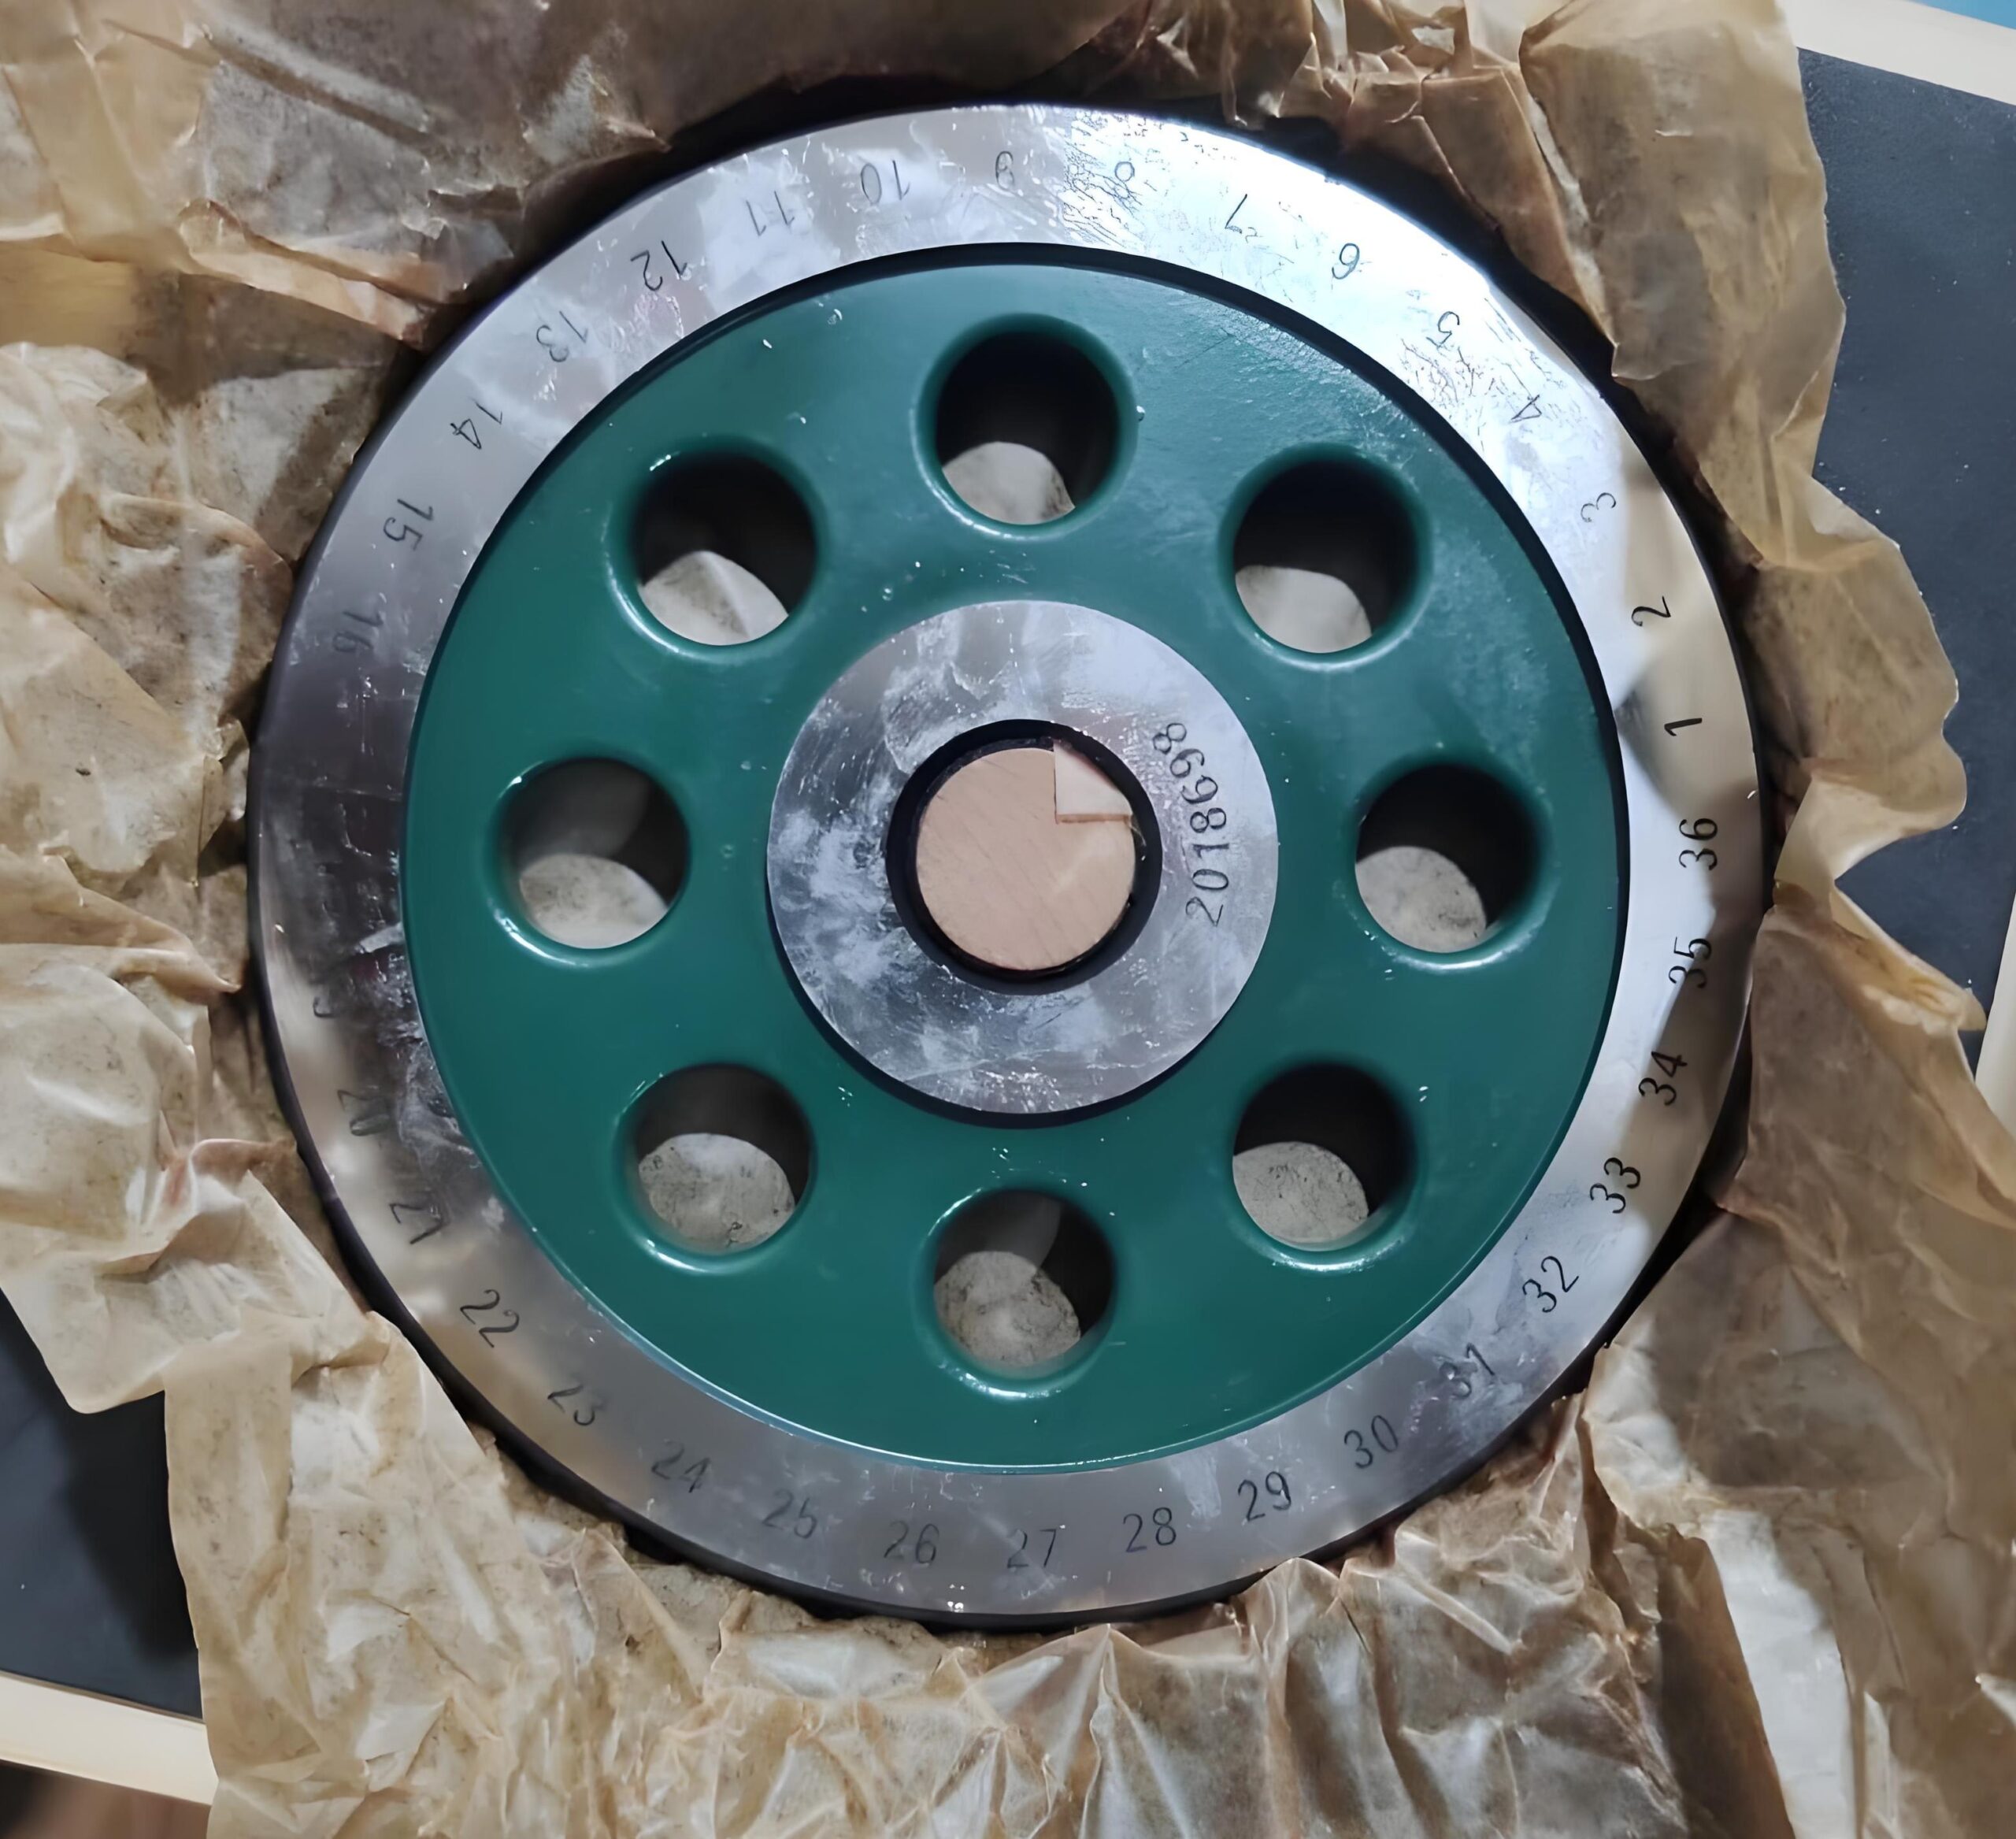
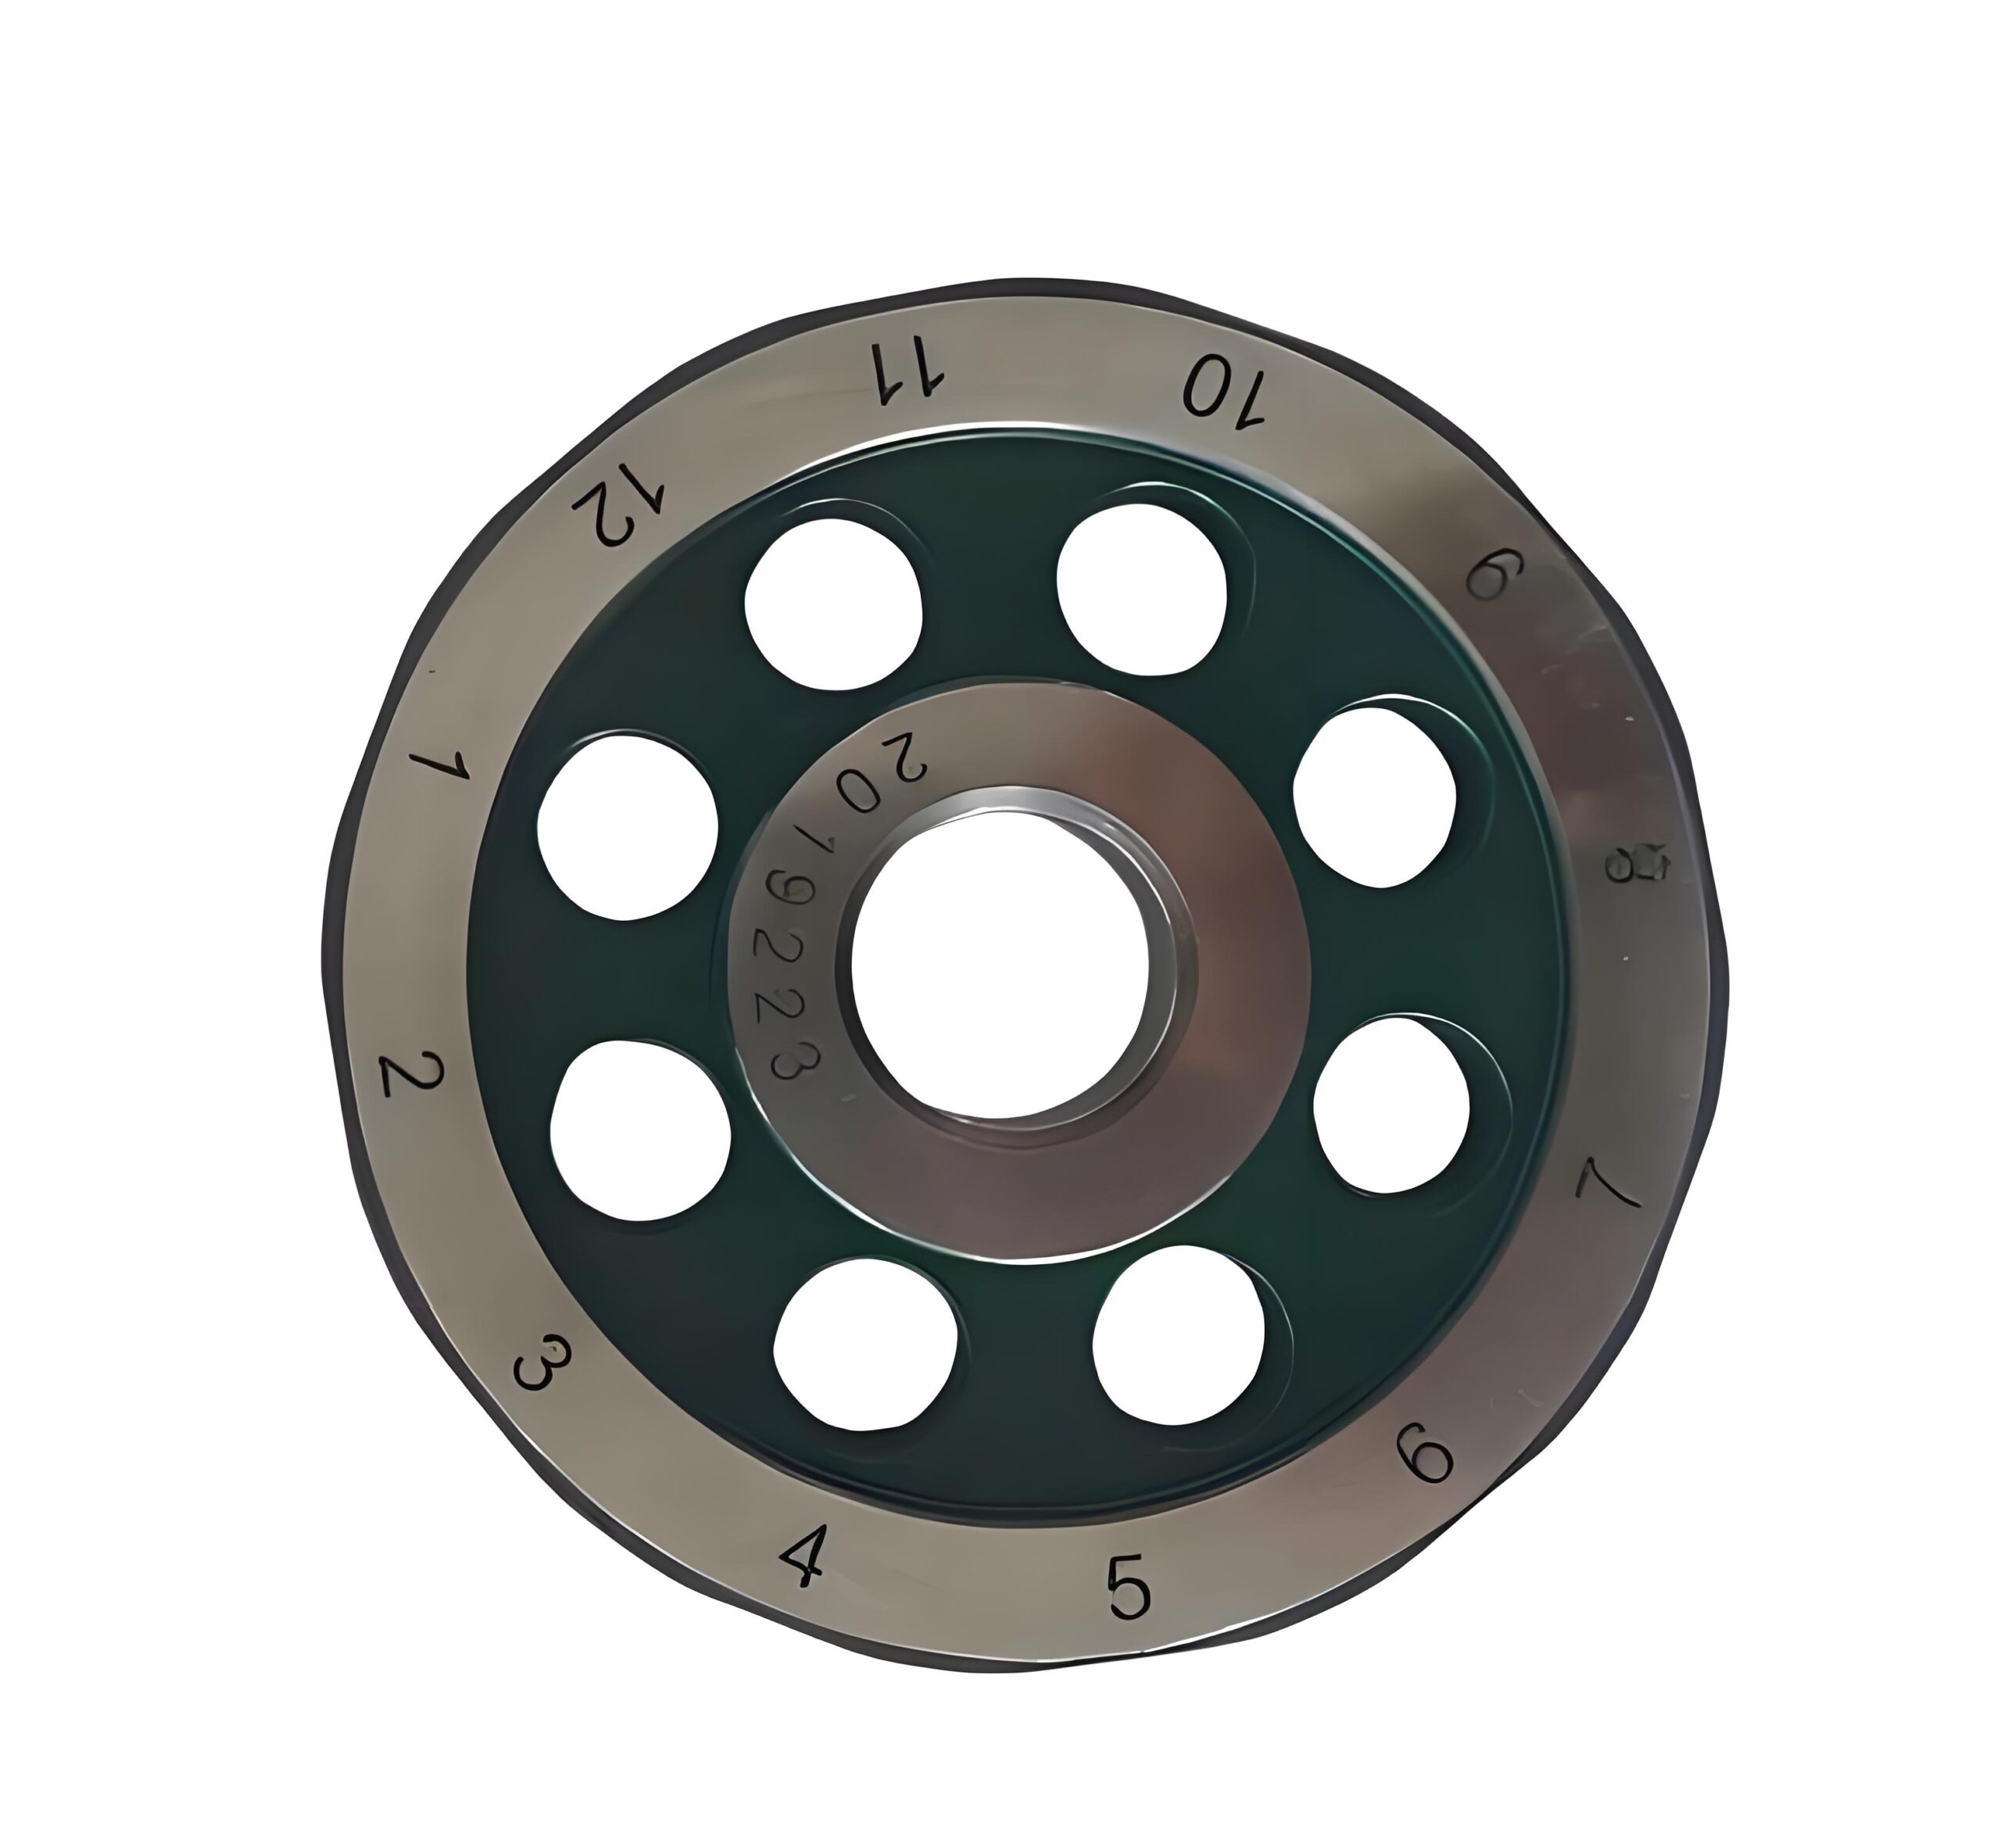
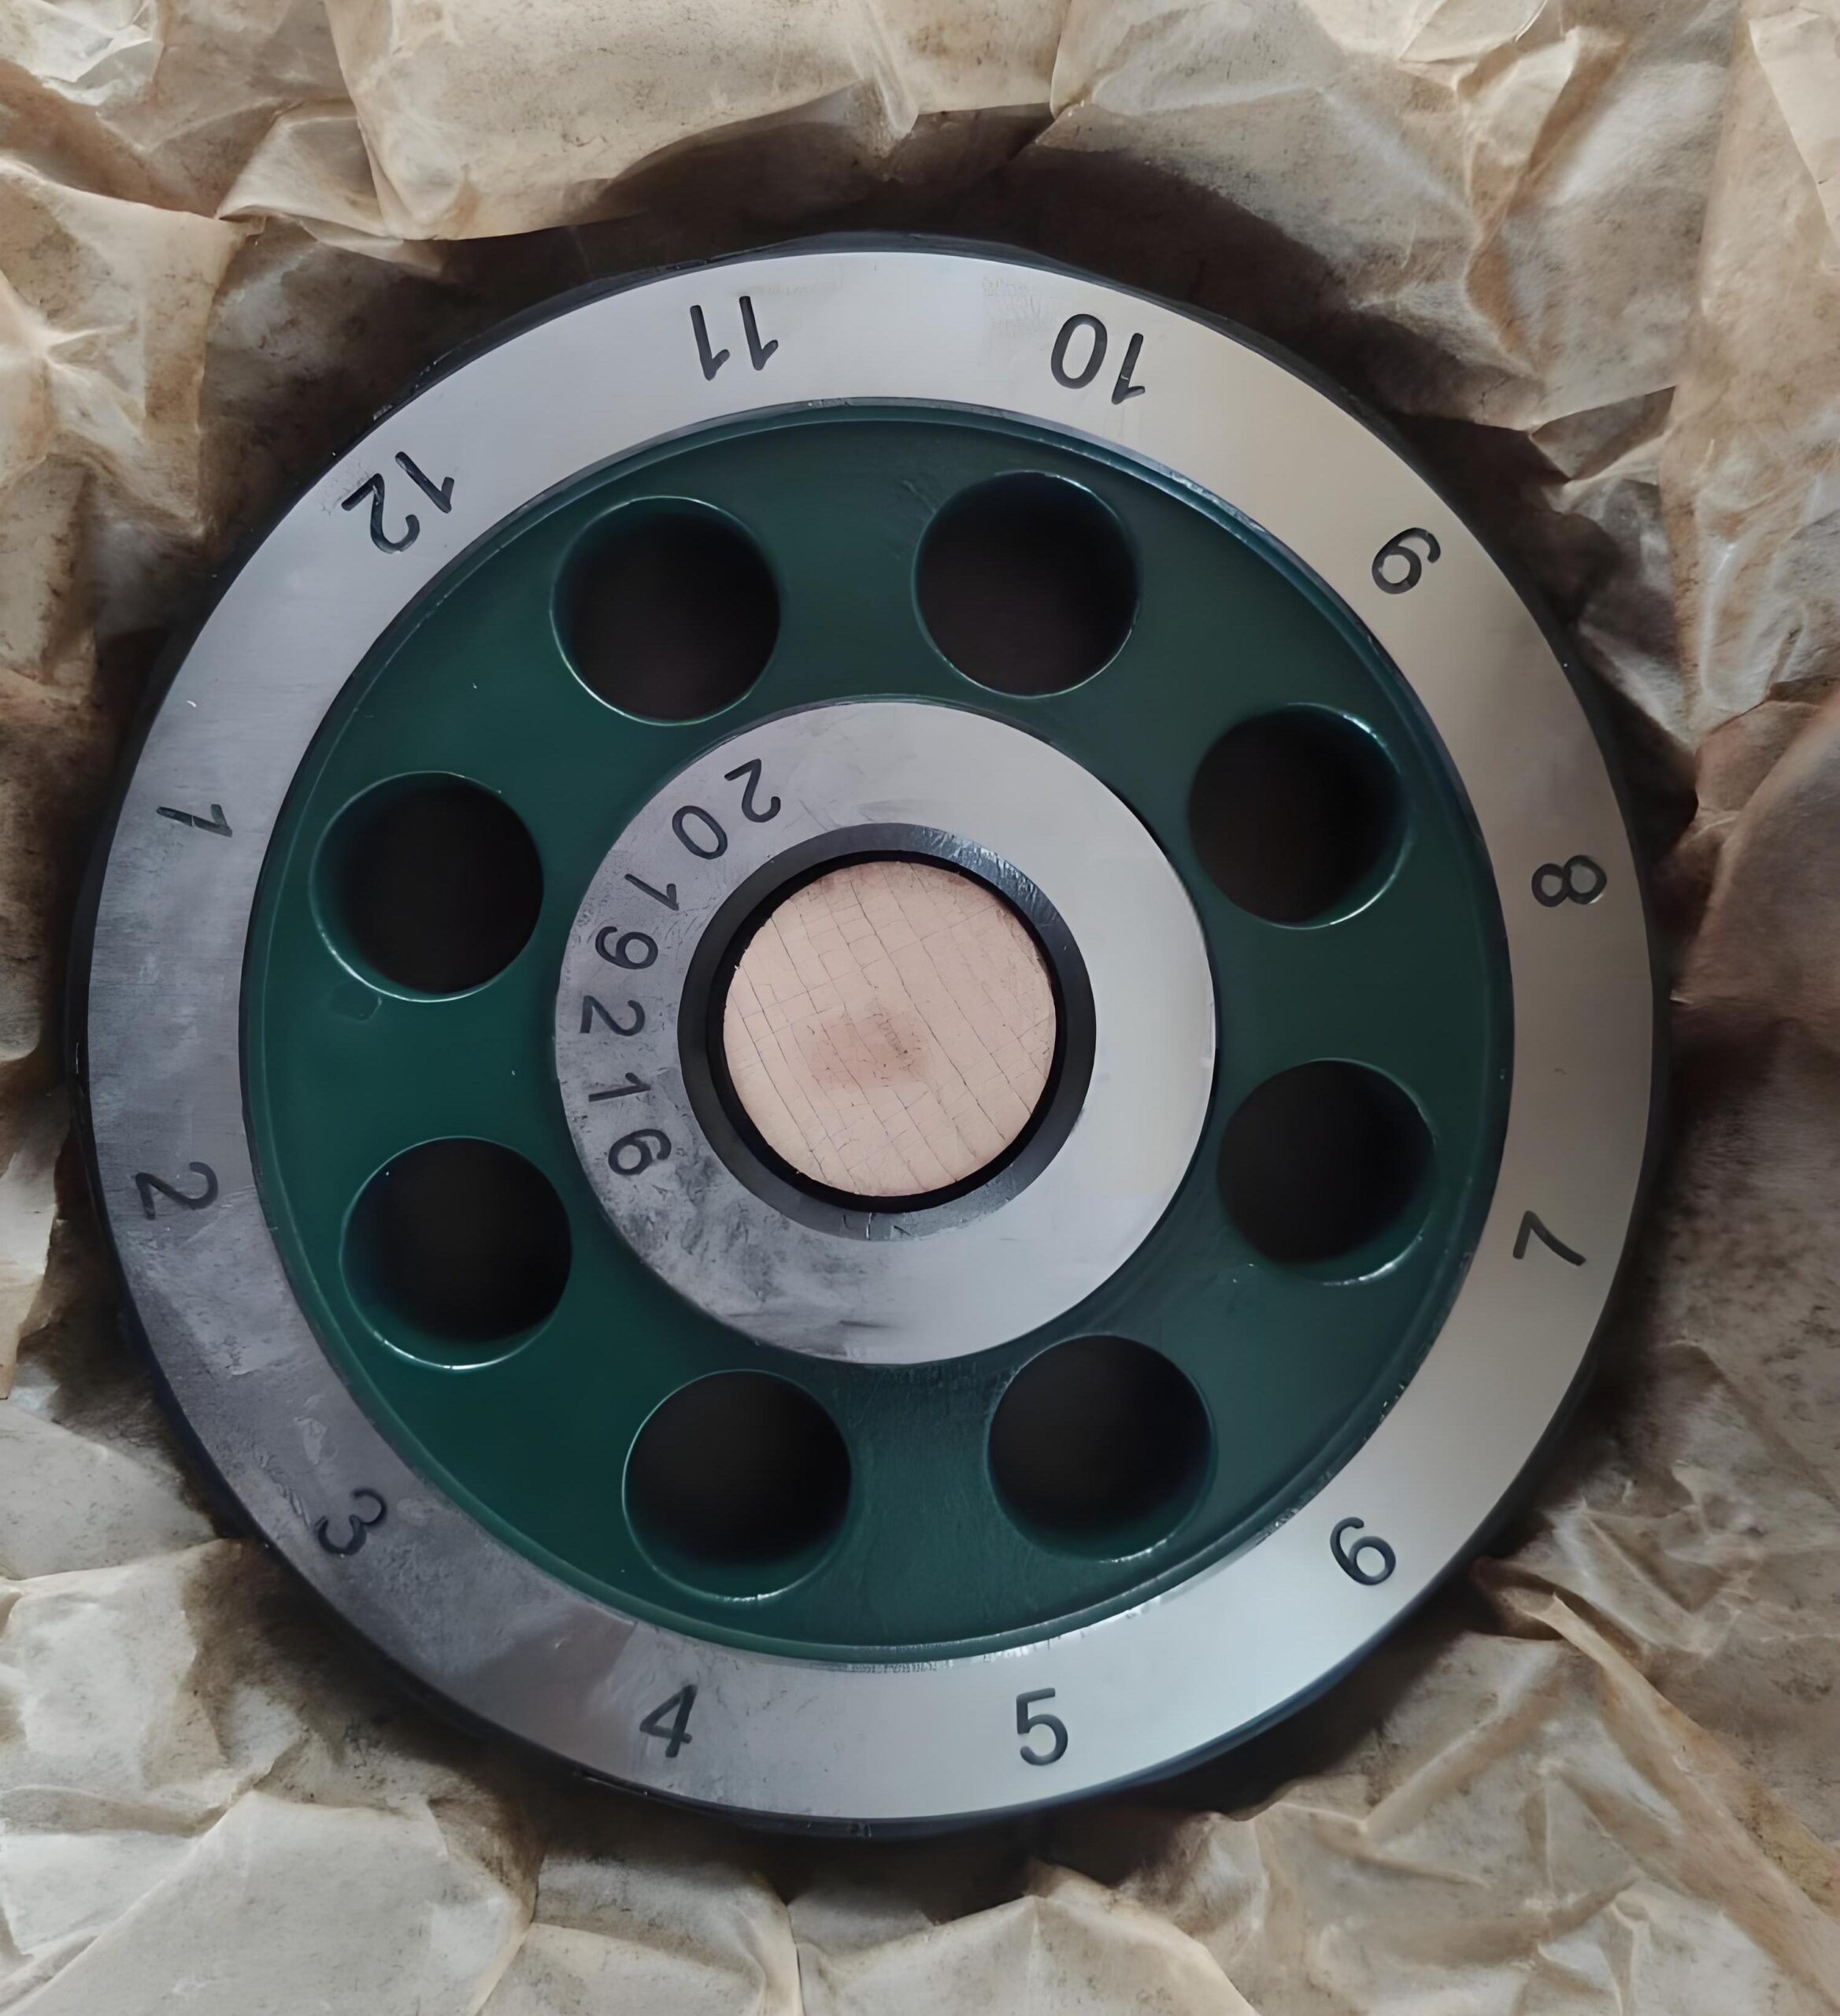
Product Introduction: The regular multi-faceted prism is a high-precision angular standard instrument. It is primarily used to calibrate the graduation errors of optical vernier heads, dividing heads, angle gauges, and other circular measuring instruments. In high-precision mechanical processing or measurements, it can also serve as a reference for angle positioning.
Product Application:
- The regular multi-faceted prism is used to calibrate the graduation errors of optical vernier heads, dividing heads, angle gauges, and other circular measuring instruments. When combined with an autocollimator, it is employed to check the graduation errors of these instruments, ensuring their measurement accuracy.
- In mechanical processing and precision measurements, it serves as a reference for angular graduation or positioning, enabling the comprehensive calibration of both large-cycle errors in the axis system of circular measuring instruments and small-cycle errors in micrometers. It can accurately determine the uncertainty of circular measuring instruments.
- The regular multi-faceted prism provides a high-precision angular measurement standard and is commonly used in high-precision mechanical processing and measurement to ensure the accuracy of both processing and measurement.
Technical Parameters:
1、External Circular Diameter:
| Number of Prism Faces | External Circular Diameter(mm) |
| 12、17 | φ100 |
| 23、24 | φ120 |
| 36 | φ150 |
- Prism Thickness: 17 mm
- Rotation Center Hole Diameter: φ25 mm
- Material: GCr15
- Hardness: HRC 62–65
- Flatness of Working Surface: Grade 0: ≤ 0.03 µm,Grade 1: ≤ 0.05 µm
- Flatness of Reference Surface: Grade 0: ≤ 1 µm,Grade 1: ≤ 1.5 µm
- Perpendicularity of Working Surface to Reference Surface: Grade 0: ≤ 5″,Grade 1: ≤ 10″
- Surface Roughness of Working Surface: Ra ≤ 0.025 µm
- Surface Roughness of Reference Surface: Ra ≤ 0.05 µm
- Parallelism Between Top Surface and Reference Surface: 2 µm
- Work Angle Deviation: Grade 0: ±1″, Grade 1: ±2″
- Measurement Uncertainty of Work Angle: Grade 0: ≤ 0.2″, Grade 1: ≤ 0.5″
- Effective Working Area of Working Surface: S ≥ the area of a circle with a diameter of φ15 mm.


